The Beginners Guide To Facial Rolling

Want to learn how to use trending and innovative skin care tools such as face rollers? Read on to find out everything you need to know.
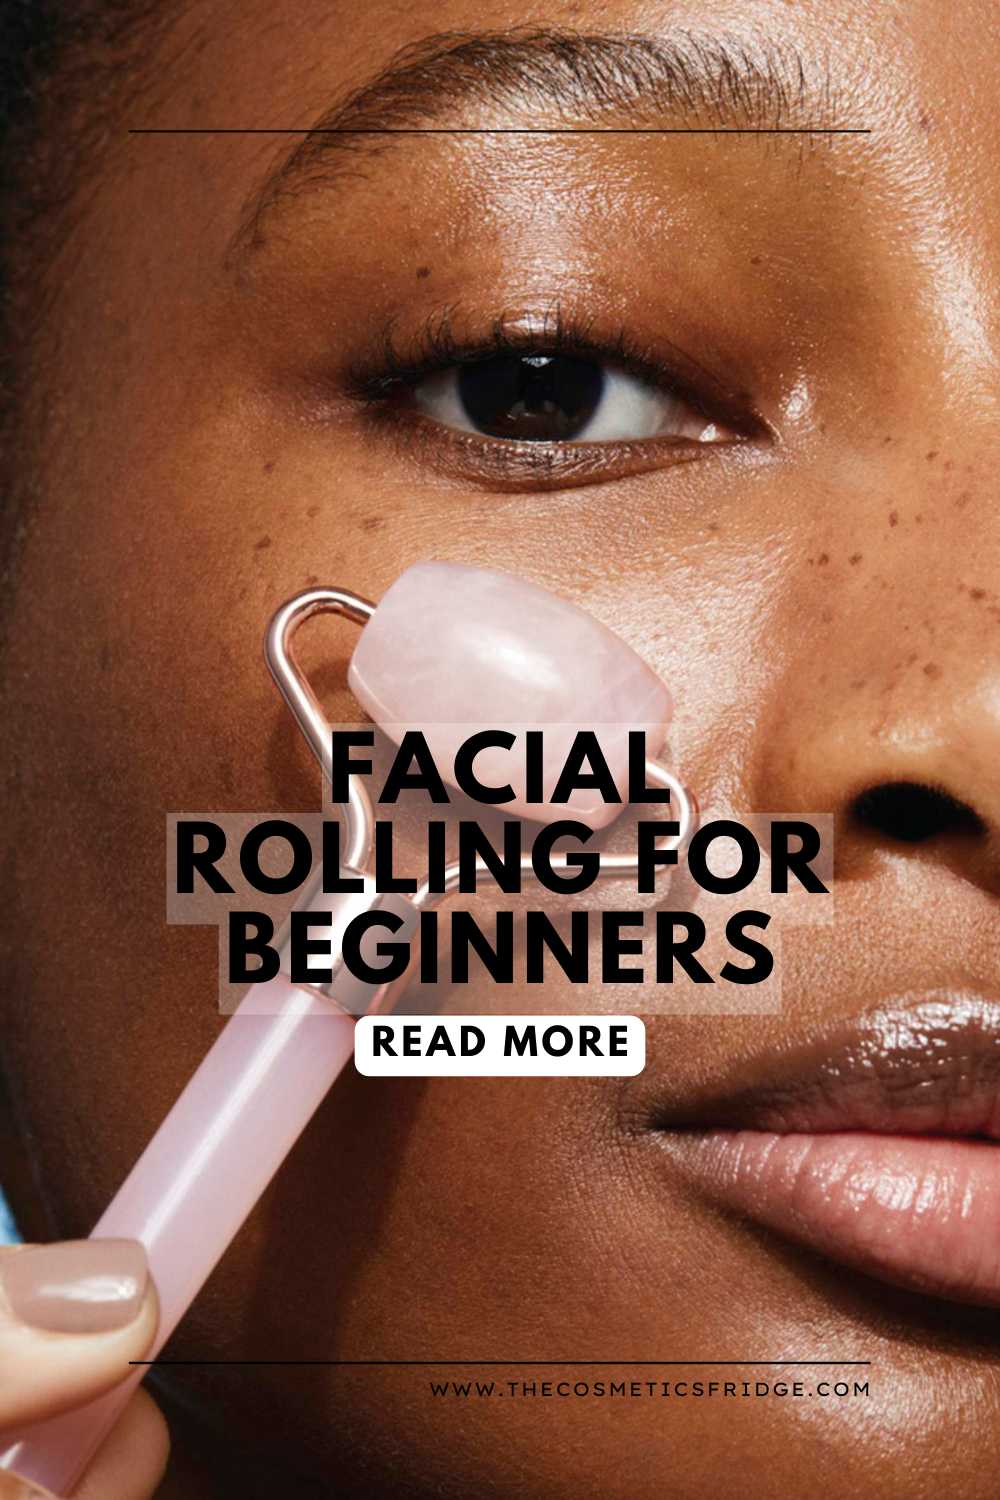
A facial roller gives your skin a luminous, glowy lift while providing metaphysical benefits with Jade, Rose Quartz, or Amethyst. You’ve probably seen a face roller on social media or maybe even at a friend’s house and found it intriguing. Some have two rollerballs, and some look like a tiny rolling pin with rollers of varying sizes fixed to both ends of the handle.
The simple act of massaging your face with a face roller has a ton of benefits for your skin. It may even reduce stress and release tension, just like a body massage would.
Using a face roller can stimulate blood flow to your face, which may help make your skin look brighter. Rolling may also decrease puffiness (like under-eye bags) by stimulating lymphatic drainage. Massaging with a facial roller reduces anxiety for some people and has proven to show some anti-aging effects, especially when combined with an anti-aging cream. If you store your roller in your mini-fridge or use a naturally cold stone like jade, it’ll cool your skin on contact. The benefits of this are still to be determined, but to be honest that cool sensation which instantly makes you feel calmer is beneficial enough.
To give yourself the best at-home massage with this beauty tool follow these simple steps:
Step 1> Prep your skin by applying your favorite serum, oil, mask, or moisturizer. Note that if you don’t have lubrication, the tool can pull or tug your skin, which may actually contribute to wrinkles.
Step 2> Gently massage your face with the roller. Focusing on your face and neck in upward and outward motions, starting from the neck and moving along your chin, cheeks, and very gently around the eye area.
Step 3> Repeat massage for 5-10 minutes. Do each motion three times on each part of your face, and use it daily to achieve your most flawless, radiant skin.
When using face rollers consistently and correctly, it can help define the different areas of your face and neck, lets's explore each section of the face so you can see the full benefits.
Your Eyes
Gently roll the small roller 3 times around the eye socket. Start from the upper inner edge where your nose hits your brow and move the roller outwards, roll around the top and under the eye towards the tear duct, rocking it gently as you go. Roll flat over your eyebrows horizontally, which may feel relieving if you have a headache. Then place the roller vertically into the inner corner of the eye, using a gentle rocking motion.
Your Forehead
From the center of the forehead, moving either left or right, begin at the hairline, rolling slowly towards the ear. Repeat 3 to 6 times over the same area. Roll from your forehead up toward your hairline, only in the upward direction. It’s the same gentle pull you would use if you were pulling your skin taut and wrinkle-free with your hands.
Your Nose, Lips, and Chin
Using the large roller (if your roller has different sized ends), work from the nose out to the ear. Do the same motion around your upper lip, and lower lip. At the chin follow along the lower jawline to under the ear lobe. Then repeat with the other side.
Face rollers are a great way to enhance the youthful look of your face and they are a good tool to help you with facial exercises. Imagine the feeling of removing your facial roller from your mini-fridge to use it for your nighttime skin routine after a long stressful day when your arms are too tired to massage your face. You’ll be able to sculpt every curve of your face while recreating that “refreshed and radiant” look you get after a facial. Even if you only have a few minutes, you may still be able to get some of the de-stressing and potentially de-puffing benefits. Some studies indicate that you’ll see better results if you use a facial roller long-term as well. Try it out for yourself and let us know what you think.


Comments